Moscow
![]() en
en
More and more businesses are moving to online platforms and creating websites and applications, and it is even difficult to imagine the work of some services without them in the modern world. We tell you how mobile applications are created and what is needed for this.
Mobile application device
Stage 1: Platform analysis and selection
Stage 2: Prototyping and basic application development environments
Step 3: Writing the code
Stage 4: Filling
Stage 5: Testing
Stage 6: Publication: how to prepare your product for publication
Before creating a mobile application, it's worth figuring out how it works.
Any application, website, or page consists of two blocks:
The client interacts only with the frontend, without seeing what is happening behind it. The task of the backend is to arrange the client part of the application so that it works properly. This is usually done by the relevant developers or a UX/UI designer.
During the application development process, both blocks are created in parallel. The reference point is made to the front, but without a properly prescribed back, a beautiful picture will remain only a beautiful picture – and we need it to work effectively as well.
Let's imagine that you are a developer. You want to create an app for mobile devices, and you have a long job ahead of you. Let's break it down into stages and go through it together.
It all starts with an idea. First, ask yourself: does your project need an application? Maybe you can do without it? For example, for many services, a page on a social network or a compact mobile version of the site is enough.
In addition, the application takes up device memory – some users may not like it. Make sure that your project is worth being on your customers' phones at all times.
If you firmly believe that creating a mobile application will make your business more accessible and easier to interact with customers, you can proceed to the first stage.
1. Look for similar mobile apps and create a general external view of your future product. It should match the trends, be intuitive and look nice.
2. Think about your target audience. Who are you making the app for? What do these people usually use? Will it be convenient for them to use their personal account and other resources? Make an approximate portrait of them: it will be easier to work knowing who you are doing it for.
Put yourself in the shoes of your target audience and answer the following questions:
Take these aspects into account and create your best version of a product that you would be happy to use yourself.
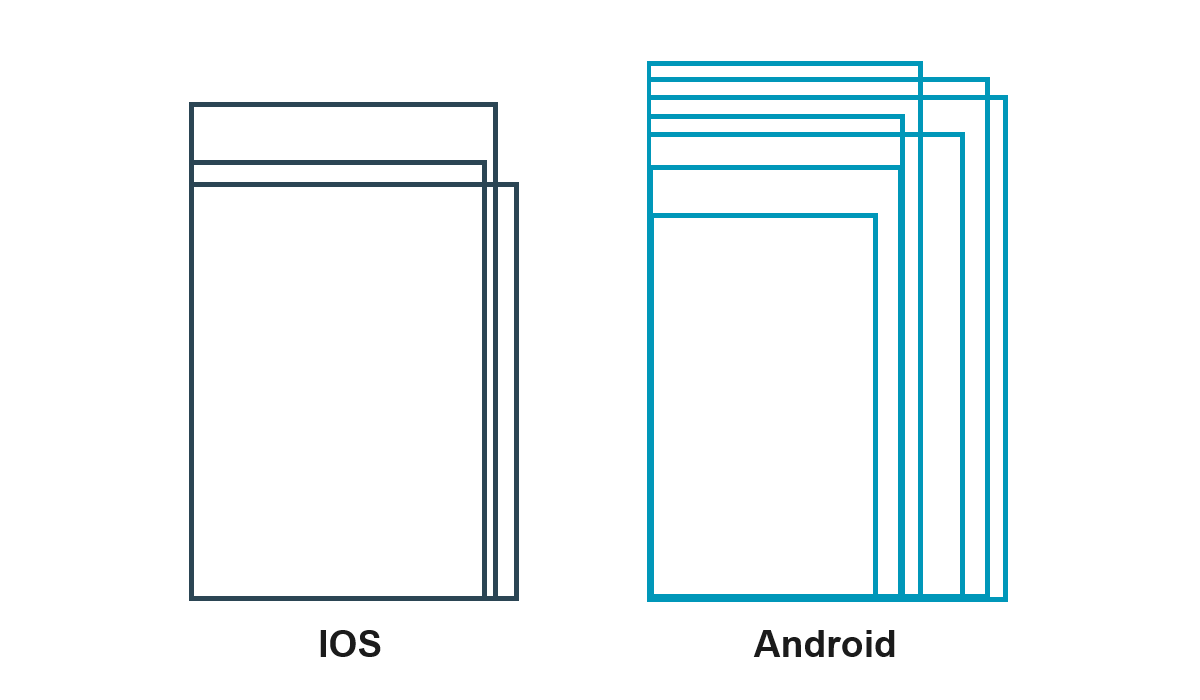
4. Choose a platformDepending on your audience, decide which operating system your app will run on: iOS, Android, or both at once. Here are a few points to consider when choosing a platform:
There are fewer iOS users, but they spend more. If your application involves internal purchases, it is better to choose this platform. In addition, Android is used by many companies with screens of various sizes and resolutions, which are many times more than iOS, that is, an Android application should look good on any device.
And you can catch two birds with one stone at once: this is called cross-platform development. It's faster, but you need to be well versed in both platforms to support such an application in the future.
By the way, choosing one thing does not promise big losses: the application code can always be adapted to another system.
The platform is selected, and with it the programming language: Android is usually Java, iOS is Swift. Cross-platform applications are most often written in JavaScript or HTML. They also have different development programs: let's look at some of the most common ones.
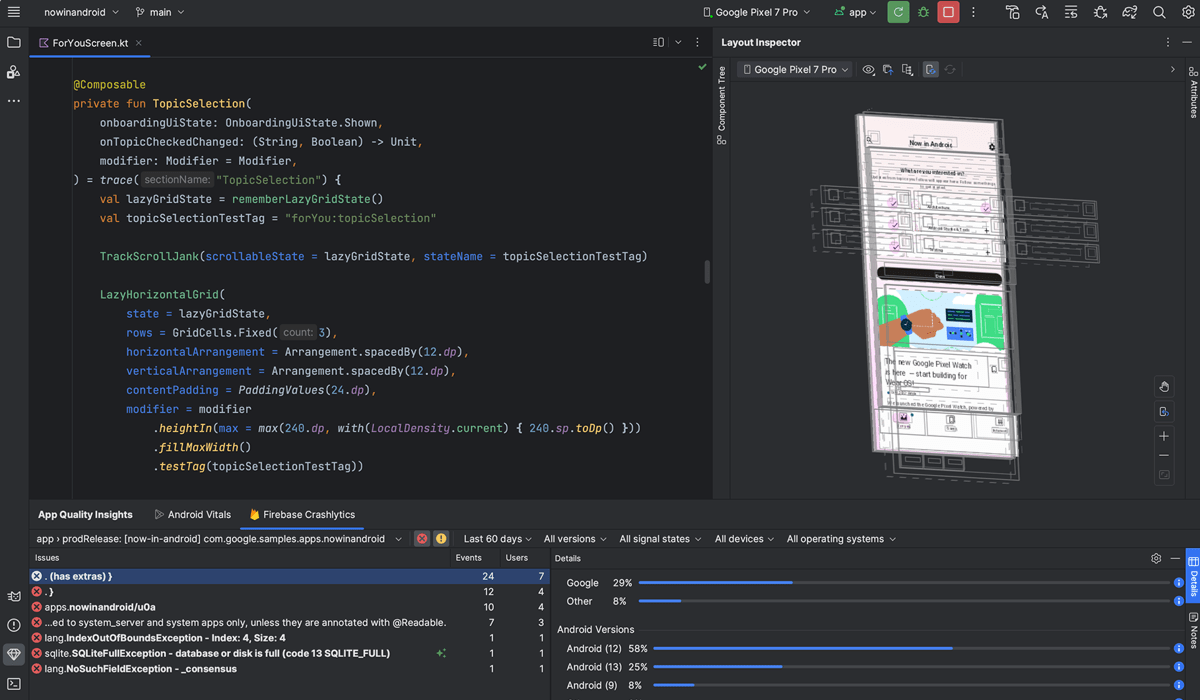
The official and free development environment for creating Android applications in Java and Kotlin languages. The interface is simple and clear: on the left is the code, on the right is how the user will see it.
You can view and edit all the functions in real time, and you can test the application right on the spot: it has an emulator built into it* Android. And recently, they even added AI (artificial intelligence), which helps write and edit code and even answers questions about development.
❝ *Emulator is a program that simulates another operating system. For example, you can use it on your computer to play games that work only on a set-top box, or run an application made only for mobile devices.❞

An open source program that allows you to create applications for both Android and iOS. For $5 per month, we offer a library of ready-made templates and widgets for a wide variety of business types: from a restaurant to charity.
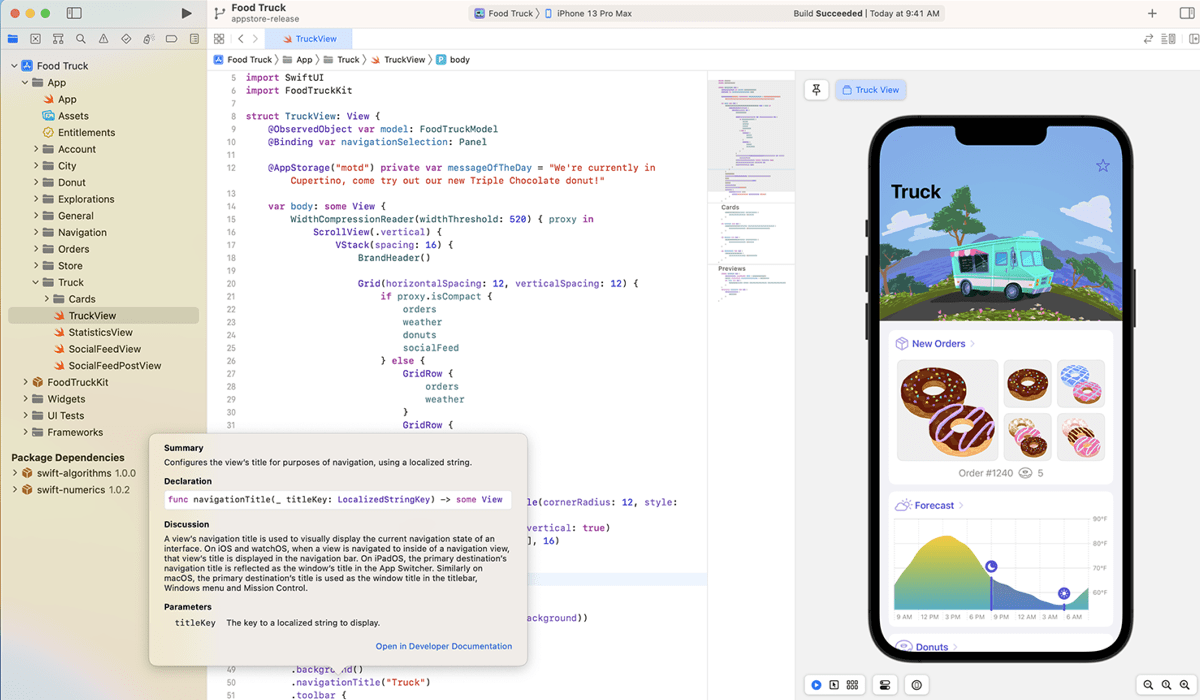
Another free official development environment, but already from Apple. It is functionally identical to Android Studio – the same interface, convenient operation and a mobile device emulator, except that the code is written in Swift and the full functionality of the program is revealed only on Apple devices with macOS.
In any development environment, a prototype is first created – the general appearance of the application pages, its main buttons and banners. The content is added later: now it is important to properly manage the space, create all the necessary pages and show them the ways to navigate to each other.
Now, in order for your pages and buttons to work, information to quickly arrive on the right server and the application as a whole to function, you need to write code for it.
The code is the backend part of the application. It connects all the elements and makes them function.
The narrower the functionality, the fewer activities will have to be worked out and the fewer errors will occur during operation. The same applies to the platform: cross-platform applications are versatile, but often less productive. Do not load your application so that it works quickly and smoothly even at low capacities.
There is a working interface with the main elements – it's time to decorate it. The entire visual of the application is designed here: the necessary text blocks, icons and photos.
At this stage are also added and edited widgets – small interactive elements with useful information. They can be either in the application itself or attached to the user's home screen so that he can see basic information without logging into the application.
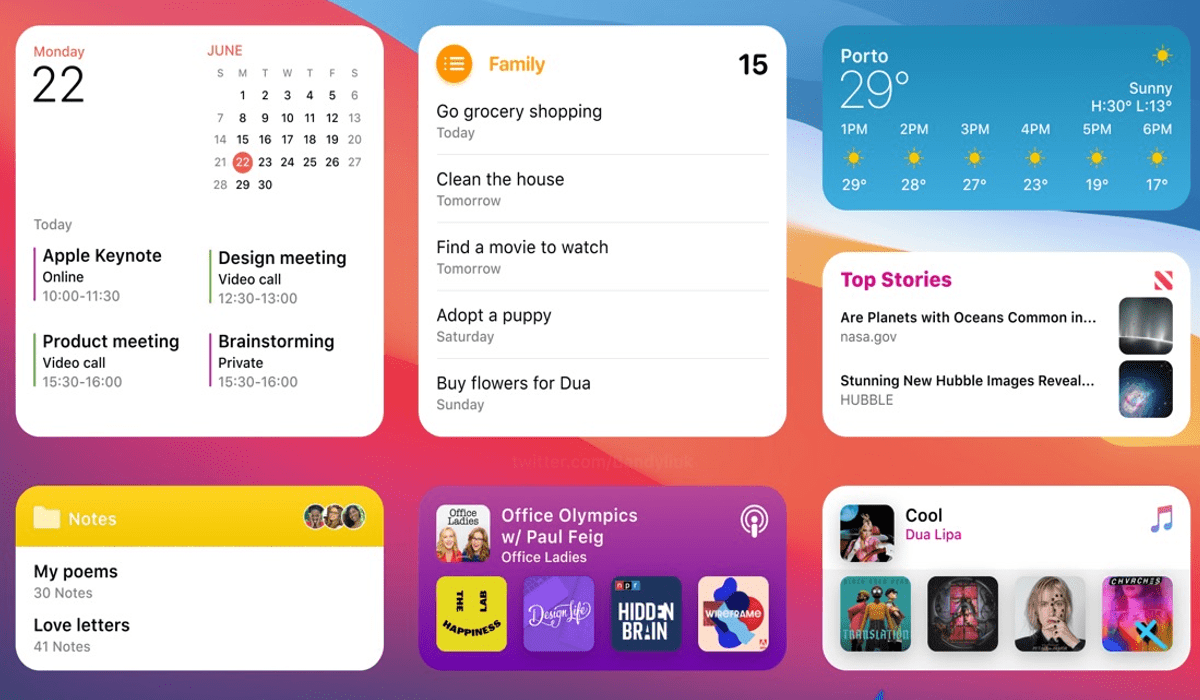
All basic mobile applications have widgets: notes, music, gallery, etc.
The application is almost ready, there remains only to check it. This can be done on the device itself or on the computer in the emulator – it would be even better to test on several different phones to identify more errors. This is what testers do: they run the application on different versions of the operating system and screens and look for any flaws in it.
The developer corrects all the nuances based on the test results and now that everything works and is displayed as it should on all devices, the application can be considered ready for publication.
Now, in order for customers to conveniently download your product, you need to prepare it for publication. Simply placing a download file on your site is also an option, but the presence in the stores (app stores) guarantees users the absence of viruses, and the application gives a chance to get into the recommendations.
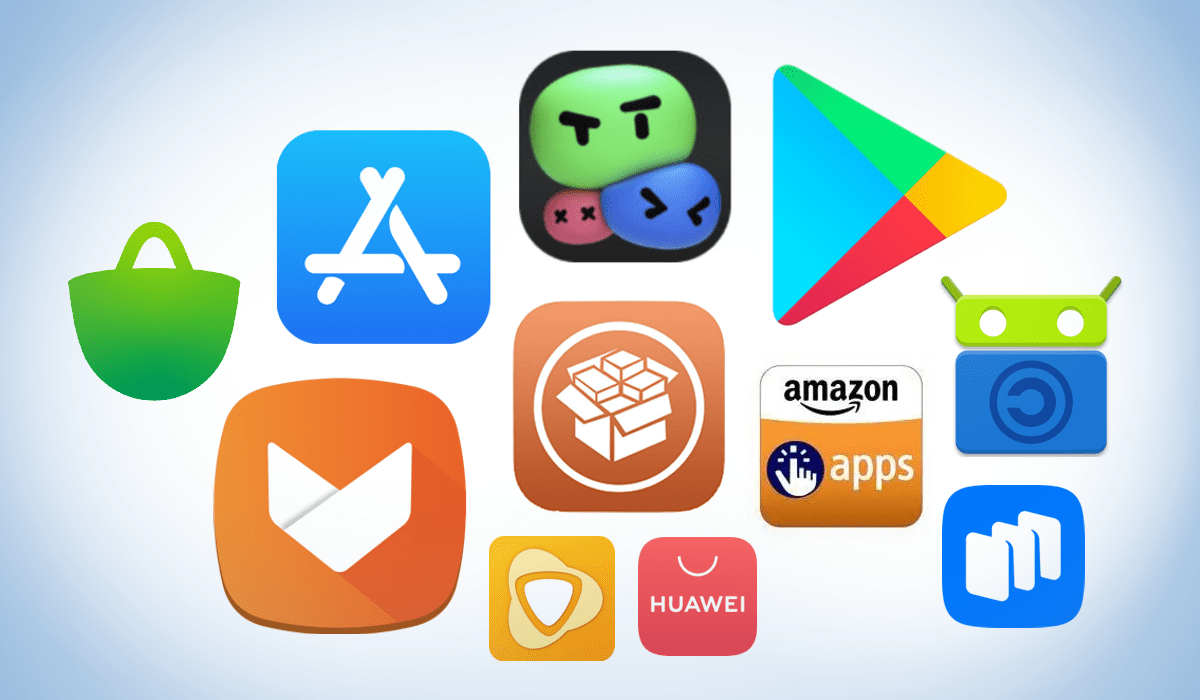
There are a lot of stores on the Internet. The most known of them are the AppStore, Play Store, RuStore and many others suitable for specific phone models.
Different stores have different requirements, so in order to have less hassle at the end, it's worth choosing a store and reading these requirements at the very beginning of the work. Here are the items common to all stores that should be prepared before shipping:

It takes about a week to review your application in the store. Make it according to all the rules at once, so as not to torment yourself and the moderators with edits.
Stores do not always accept an application the first time: to do this, you need to study their policies and requirements in detail and check your application for malware. Here are the main reasons why you may be refused:
It is also worth bearing in mind such obvious things as prohibited content, non-compliance with local or international laws and the spread of malicious information and programs.
By the way, Google Play is more loyal in its requirements – while Apple's moderation is very strict. There is nothing wrong with this: observing the above points and having a complete and specific application card (a document with all the data), you are already 80% moderated in any store.
Taking into account the store's policy at the very beginning of the application creation and following it throughout the development will save you time, money and nerves. Spend a little more time analyzing: it will definitely pay off at the publishing stage.
Remember, the app is your service. It should leave a good impression, be convenient and not waste users' time so that they would like to return to it again. Create it pleasing to the eye, fast and undemanding, and it will pay off quickly.
A good application can be created with your own hands using guides, tools and courses at the CODDY programming school. We teach you how to write what you need in all the languages you need.


