Moscow
![]() en
en

When creating a product, you need to know how to properly invest resources in the development. One way to save time and effort is to make a prototype. Without it, you can wait for problems: errors, inconvenient interface, if it comes to the application, unclear abstractions, etc.

Prototypes are used to elucidate and solve customer needs. The goals of this stage of development are as follows:
And also prototyping is easy. You can do planning even on papers and napkins.
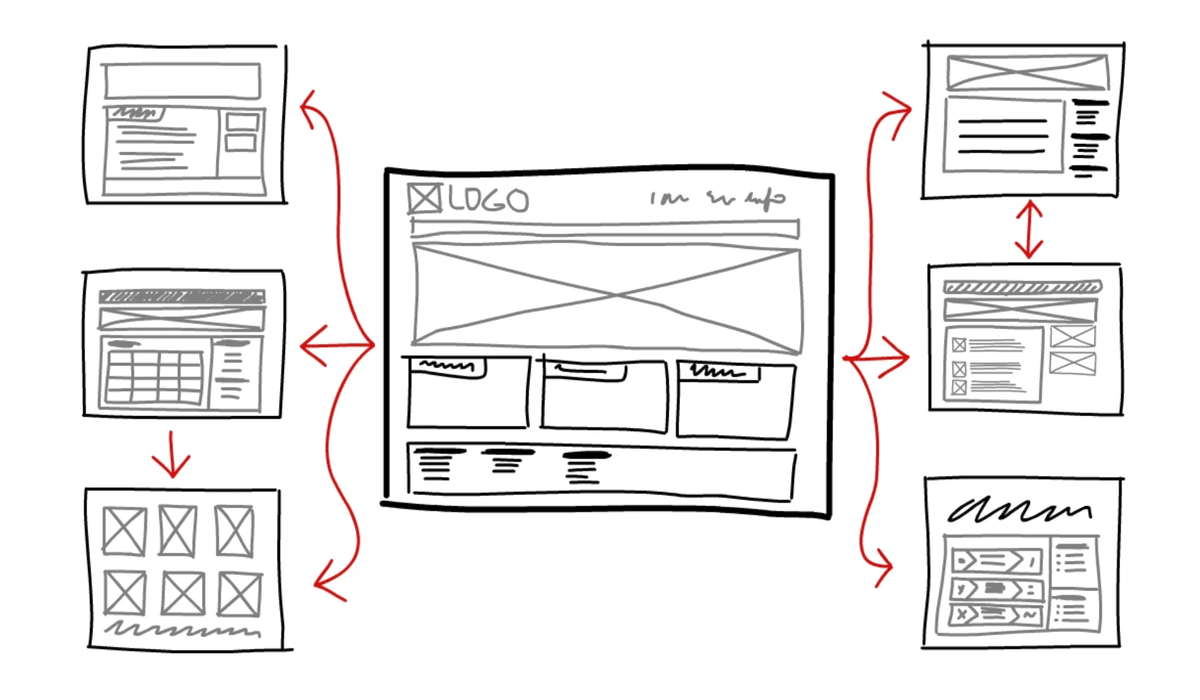
Types of prototyping are divided by the level of detail.
It can be drawn on a napkin or piece of paper. Needed to discuss the concept with the customer. You should not expect that a low detail prototype will not change.
It is also called a mockup. It is created exclusively in digital format. it often lacks any colors except black and white. In the prototype of medium detail is a finalized idea - what will be the navigation, feedback system, etc.
Produced after low and medium detail prototypes. It is almost a finished product, so the most time is spent on this stage. All the ideas concerning the interface are realized. After adjustments, the developments are either transferred to another department or a full-fledged product is released.
A successful prototype can be made in 6 steps.
In some cases the longest part of the project. Not always the customer has a clear vision of the project, so you need to find out the needs of the client to finalize them yourself. Let's analyze the example of a home renovation website.
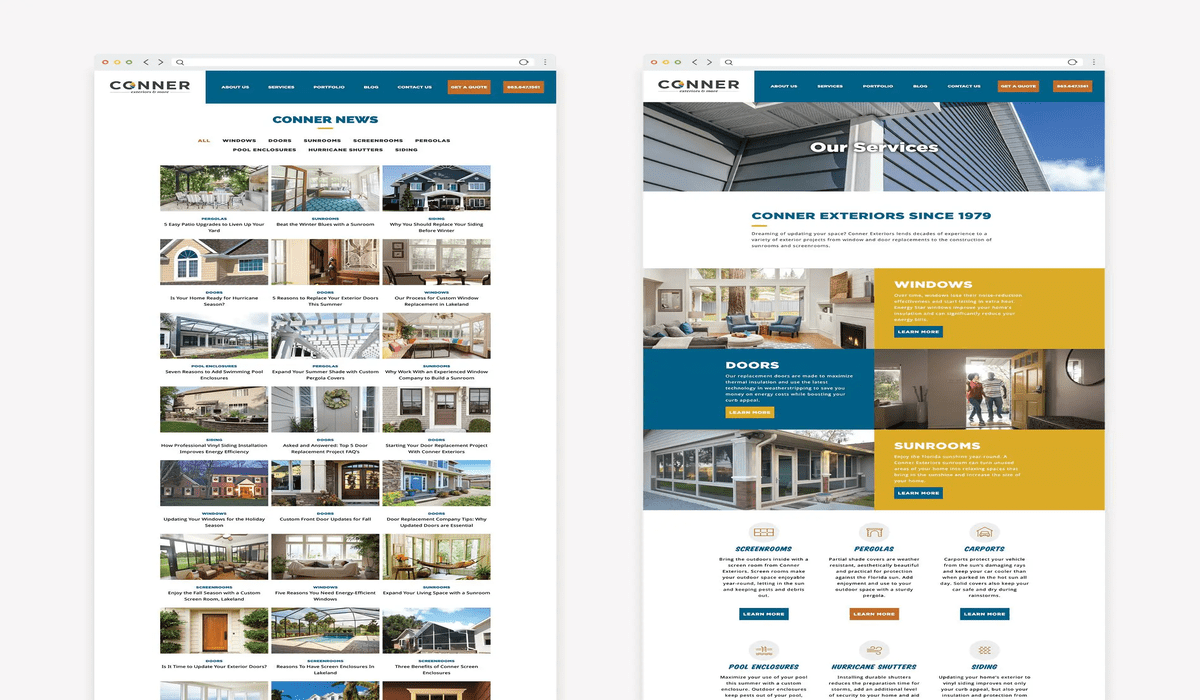
The old version fulfills its function, but the new one has the following advantages:
Negotiations are necessary to prove the validity of the project to the customer. If he just says “make me a website” and even gives the terms of reference, it is not a guarantee that the result will be accepted. A few tips on communication:

If possible, you need to learn as much as possible about the users of the site. Here are the questions you need to answer (let's break it down on the example of the site):
You can finalize your own questions as well. You can also conduct interviews with users for additional analysis. Based on the results, guess which categories of people will use the service.

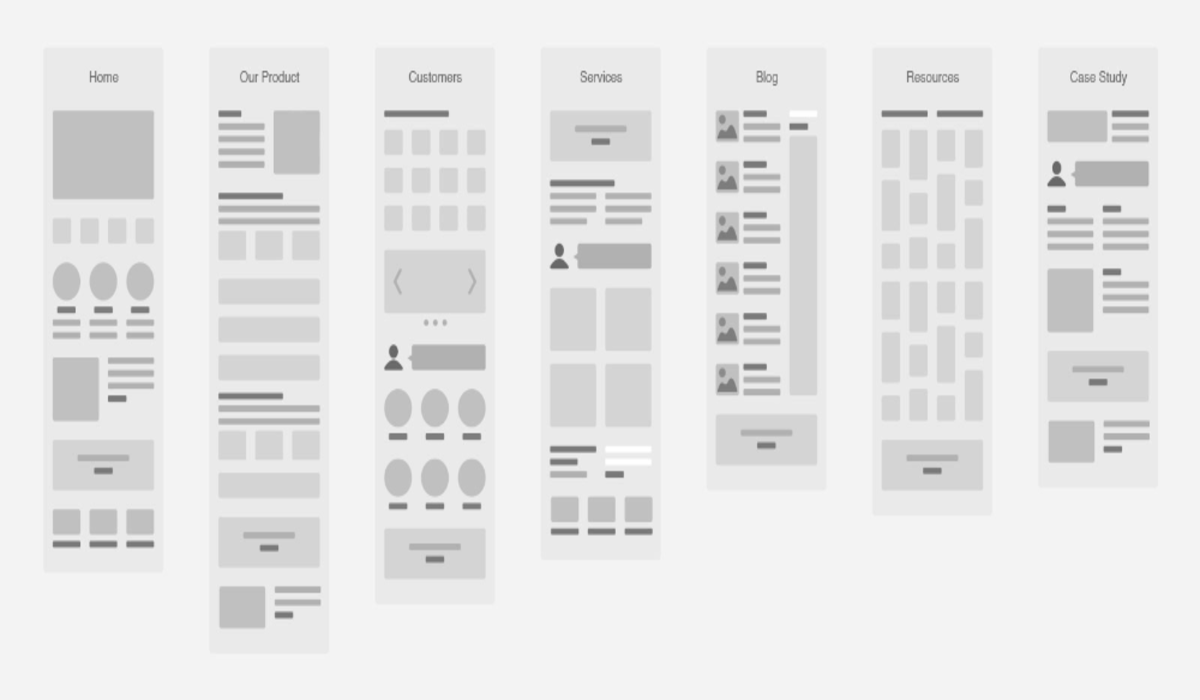
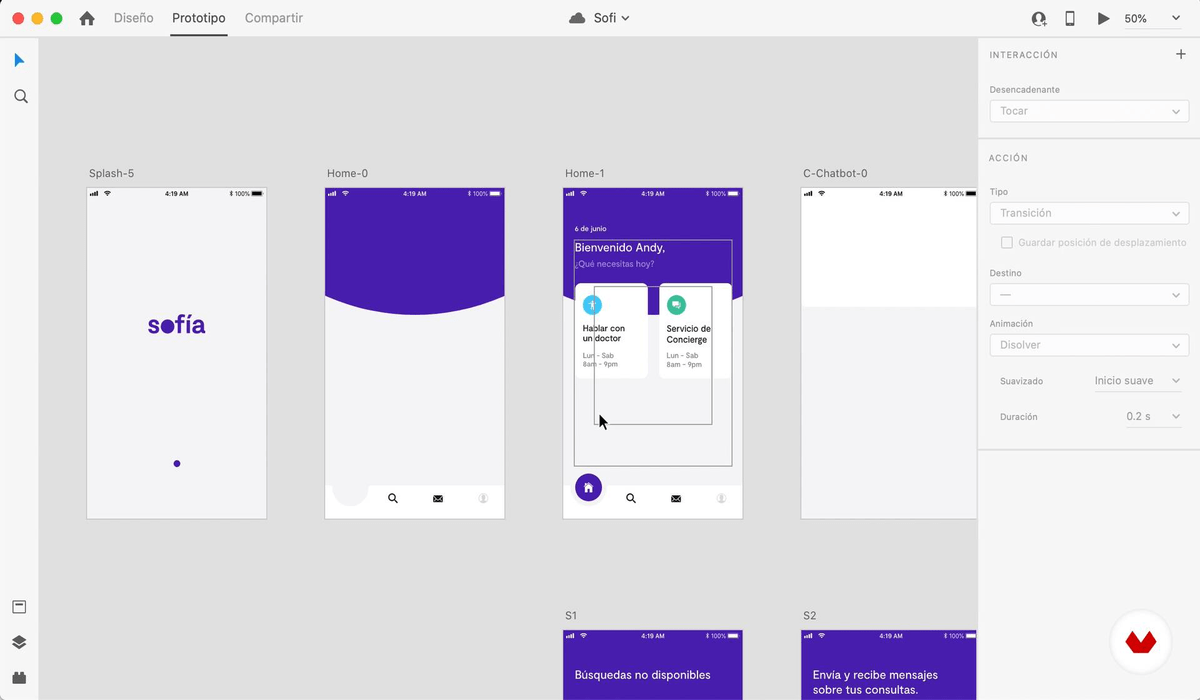
On a piece of paper or in a program, make a sketch of the future product. It starts with a rough sketch - don't worry about quality, instead test ideas. When you are happy with the sketch - start refining the result.

Raw and unfinished concepts are needed to properly understand the direction needed by the customer. And it should be digital because the customer needs to see how the functionality looks. After that comes discussion and possible adjustments.
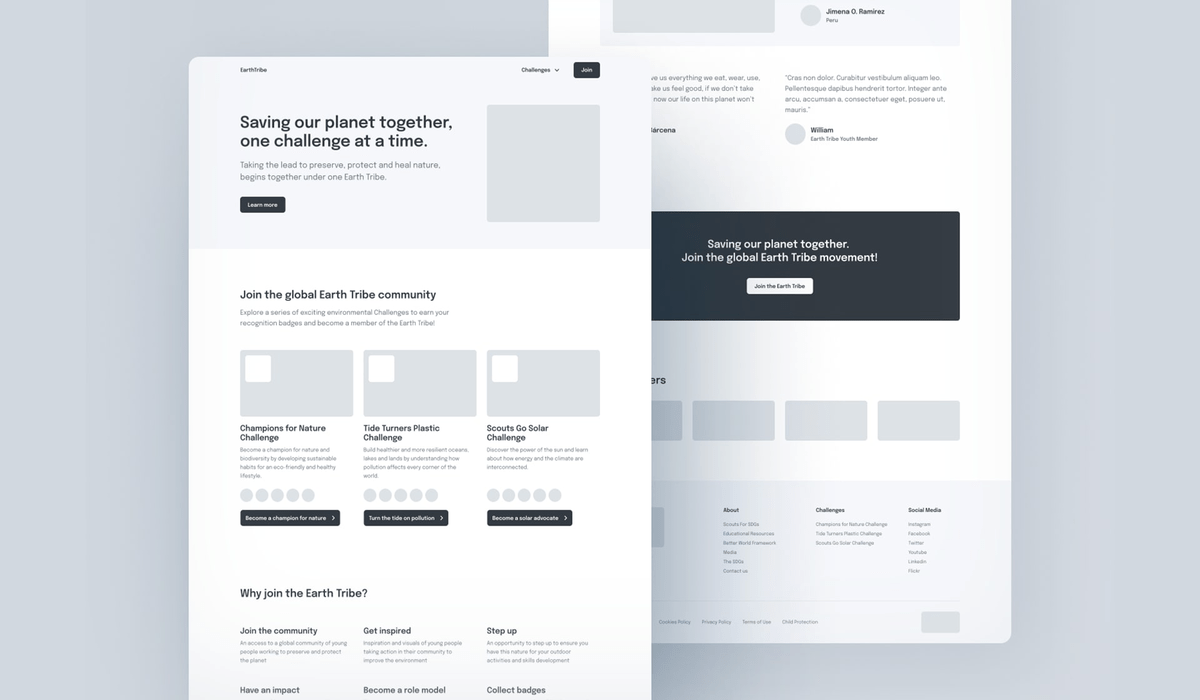
At this stage, use your design skills. It is advisable to select solutions that can be easily justified. In the matter of external design, everything is situational. Select fonts, colors and visual effects based on the client's considerations and your own vision of the result.
The finished prototype is sent for testing. If it is approved, you can start releasing the product. If not, you can make improvements. And do not be afraid of revisions - it is almost a mandatory stage that many projects go through.
We will touch on creating websites, programs and 3D objects:

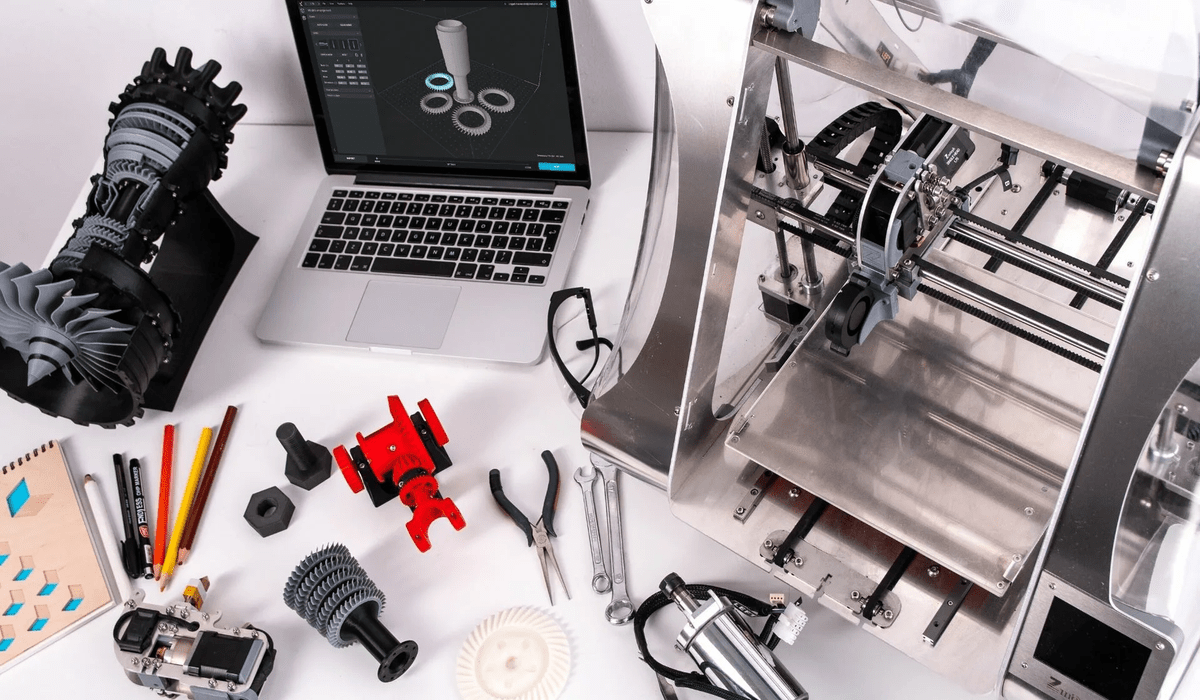
Let's also touch on 3D prototyping. It is necessary if you do not have a real object, but you have an idea. In this case, the creation of a 3D model will allow you to tell your customers about the advantages of your product. There are areas where it is more difficult to sell goods without 3D modeling. One of them is 3D printing. Here is what is done in it before the release of the product:
There are many programs for creating 3D models. But the most affordable is Blender 3D. Briefly about the advantages:

You may not like the programs shown in the top, so here are a few criteria by which we advise you to choose the software:
And more often listen to cool or popular designers or people in your profession. They know about trends, so they can definitely suggest something useful.


